

Description
- Model: DASD001 / 3ASC25H241
- Brand: ABB
- Series: ASTAT / Drive Thyristor Module
- Core Function: Controls high-power three-phase motor current
- Type: Thyristor power module
- Key Specs: 530 V; 25 A; 3-phase L1/L2/L3 input and T1/T2/T3 motor connection
- Condition: New Original (New Surplus) — confirm actual stock condition before purchase
Product Introduction
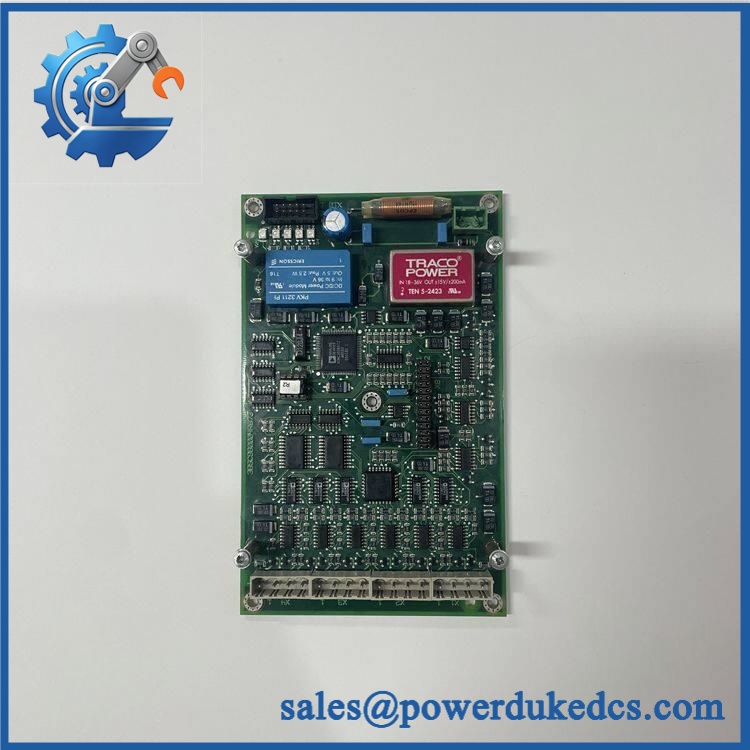
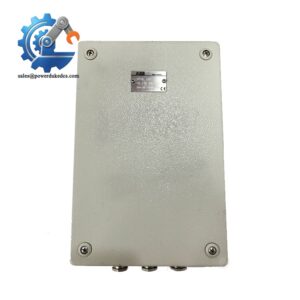
ABB DASD001, part number 3ASC25H241, is a 530 V, 25 A thyristor module used in ABB drive and ASTAT equipment. It handles the power path between the three-phase line and motor connections, with L1/L2/L3 on the line side and T1/T2/T3 on the motor side. ABB documentation identifies this exact part as DASD 001.
The useful number here is 25 A at 530 V. The module is rated for a reference temperature of 55°C, with a stated derating of 1.2% per °C in the ABB ASTAT documentation. Its listed dimensions are approximately 422 × 87 × 315 mm, with a weight of about 16 kg.
Key Technical Specifications
| Parameter | Specification |
|---|---|
| Manufacturer | ABB |
| Model | DASD001 |
| Part Number | 3ASC25H241 |
| Product Type | Thyristor Module |
| Rated Voltage | 530 V |
| Rated Current | 25 A |
| Phase Configuration | 3-phase |
| Line Connection | L1, L2, L3 |
| Motor Connection | T1, T2, T3 |
| Maximum Terminal Size | 35 mm² |
| Control Connection | -X31 system cable |
| Reference Temperature | 55°C |
| Thermal Derating | 1.2% per °C |
| Protection Rating | IP20 |
| Dimensions | Approx. 422 × 87 × 315 mm |
| Weight | Approx. 16 kg |
| No-load Power Loss | 10 W |
| Full-load Voltage Drop | 0.80 V |
| Application | ABB drive / ASTAT power equipment |
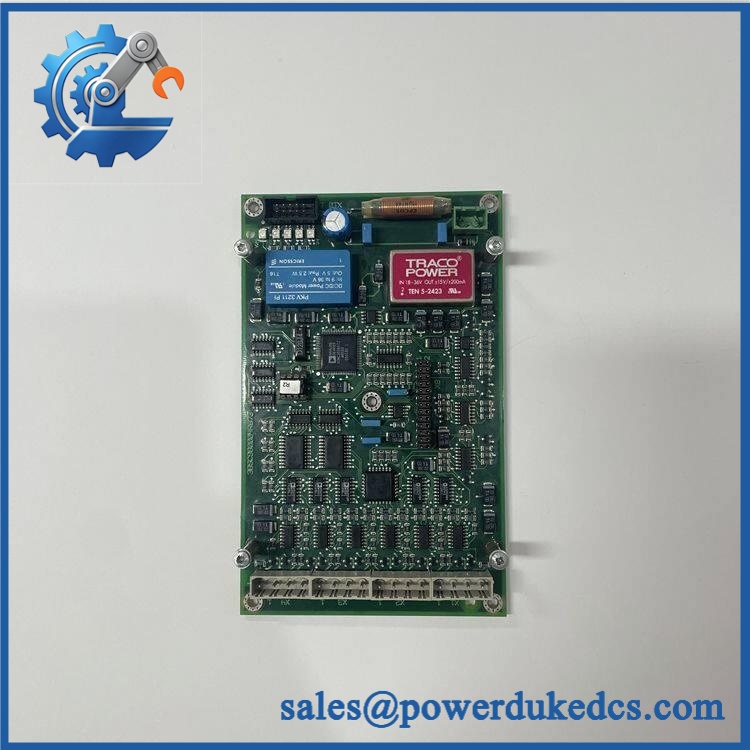
ABB DASD001 3ASC25H241
The electrical connection data above comes from ABB’s ASTAT manual. The manual specifically lists 3ASC25H241 as a 530 V, 25 A DASD 001 thyristor module and specifies L1/L2/L3, T1/T2/T3, and the -X31 system cable.
Installation & Configuration Guide
Estimated replacement time: 30–45 minutes, excluding application-specific commissioning.
Stage 1: Pre-Installation — About 10 minutes
⚠️ Safety first. This is a high-power module. Do not treat it like a small PLC card.
- Notify the production team and obtain the planned shutdown window.
- Put the drive or motor system into a safe state.
- Disconnect the main power and control power.
- Isolate the equipment according to the site’s lockout/tagout procedure.
- Verify that hazardous voltage is absent with a properly rated meter.
- Allow the DC-link and other stored-energy circuits to discharge according to the ABB equipment manual.
Prepare:
- ESD wrist strap and ESD mat
- Proper insulated hand tools
- Calibrated multimeter
- Cable labels and marker
- Camera or phone for configuration records
- Torque tool suitable for the specified terminals
Do not assume 24 V DC. DASD001 is a power thyristor module, not a conventional 24 V PLC I/O card. The actual power circuit must be verified against the drive schematic. ABB’s documentation identifies the power terminals as L1/L2/L3 and T1/T2/T3.
Stage 2: Remove the Existing Module — About 10 minutes
- Photograph the complete installation before touching the wiring.
- Record the module label and part number.
- Label every power cable before removal.
- Mark L1, L2, L3 and T1, T2, T3 clearly.
- Disconnect the control/system cable at -X31.
- Remove the power connections using the correct tool.
- Release the module mounting hardware.
- Remove the old unit carefully.
Look closely at the terminals.
A darkened terminal, melted insulation, or loose connection deserves investigation before the replacement goes in. Simply replacing the semiconductor module may only hide the original fault.
Stage 3: Install the Replacement — About 10 minutes
- Wear the ESD strap.
- Verify DASD001 / 3ASC25H241 against the old module and equipment BOM.
- Check the physical condition of the replacement.
- Confirm that the terminals and mounting points are undamaged.
- Install the module in the original position.
- Reconnect L1/L2/L3 on the line side.
- Reconnect T1/T2/T3 on the motor side.
- Reconnect the -X31 system cable.
- Tighten connections according to the equipment-specific ABB torque specification.
ABB specifies terminals up to 35 mm² for the 530 V and 600 V versions documented in the ASTAT manual. Do not invent a torque value if the exact equipment manual is unavailable. Use the applicable ABB installation drawing.
Stage 4: Power-On and Functional Test — About 10–15 minutes
Before energizing:
- Model and part number checked
- L1/L2/L3 wiring checked
- T1/T2/T3 wiring checked
- -X31 connection checked
- Mounting hardware secured
- No loose tools or metal parts inside the cabinet
- Insulation and grounding checks completed according to site procedure
- Drive protection settings reviewed
Then:
- Restore power following the equipment startup procedure.
- Check drive status and diagnostic indications.
- Confirm that the controller recognizes the power stage.
- Start the motor at low load where the process permits.
- Monitor current and abnormal noise.
- Check terminal and module temperature during operation.
- Record the replacement date and new serial number.
Do not rely on LED status alone. A power-stage replacement needs an electrical and functional check.
FAQ
1. What exactly is ABB DASD001 3ASC25H241?
It is an ABB thyristor power module, not a standard digital input module. ABB’s own ASTAT documentation identifies 3ASC25H241 as DASD 001, 530 V – 25 A.
2. Can I use another DASD module instead?
Not automatically.
| Part | Rated Voltage | Rated Current |
|---|---|---|
| / 3ASC25H241 | 530 V | 25 A |
| DASD002 / 3ASC25H242 | 530 V | 50 A |
| DASD101 / 3ASC25H281 | 600 V | 25 A |
The voltage and current ratings are different. Mechanical fit alone does not prove electrical suitability. ABB’s documentation lists these as separate module variants.
3. My old module failed. Can I just install the new one?
Not before checking the reason for failure.
Inspect the power cables, terminals, cooling path, motor circuit, and associated control hardware. If the original failure came from overcurrent or a short circuit, a replacement thyristor module can fail again very quickly.
4. Is this part suitable for a 600 V system?
No assumption should be made from the model family.
The 3ASC25H241 is the 530 V / 25 A version. ABB lists 3ASC25H281 as the separate 600 V / 25 A DASD101 version. Check the drive nameplate and ABB equipment BOM before ordering.
5. Can I keep as a critical spare?
For equipment where a failed power module can stop production, one on-site buffer unit is reasonable. The carrying cost is high because the part is large and relatively specialized, so storing multiple units without failure history may tie up unnecessary capital.
For a single critical drive, a practical starting point is Min: 1 / Max: 1–2 units, then adjust using failure frequency and supplier lead time.
6. What should I check before buying?
Send the supplier:
- Exact part number: 3ASC25H241
- ABB type:
- Equipment model
- Existing module nameplate photo
- Required quantity
- Required condition
- Required delivery date
Ask for the actual serial number, product photos, condition statement, and test evidence. For a used or surplus unit, do not accept a generic stock photo as the only proof.
7. How should this spare be managed in inventory?
Treat it as a critical, slow-moving spare rather than a normal consumable.
Keep one unit where downtime cost is high. Use a second unit only when lead time variability justifies the capital. For an obsolete platform, a last-time-buy can make sense when ABB supply has ended, but calculate total cost of ownership first.
A simple policy:
- Critical + long lead time: Min 1 / Max 2
- Critical + reliable short lead time: Min 1 / Max 1
- Low criticality + slow usage: Vendor stock or consignment
- EOL equipment: Review last-time-buy before supply becomes scarce
Source note: ABB’s ASTAT manual is the primary technical reference used here for the 3ASC25H241 / electrical rating, connections, thermal data, dimensions, and weight. Some online listings incorrectly describe this part as a digital input or communication module, so those descriptions should not be used for technical selection.


 Start Chat