

Description
- Model: LWN2660-6E
- Brand: ABB
- Series: LWN Series
- Core Function: Converts AC input to regulated DC power
- Type: Industrial AC-DC Power Supply
- Key Specs: 24 V DC output; 250 W rated power; LWN2660-6E designation
- Condition: New Surplus, non-refurbished
Product Introduction
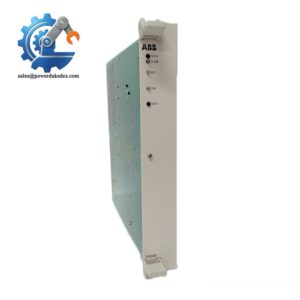
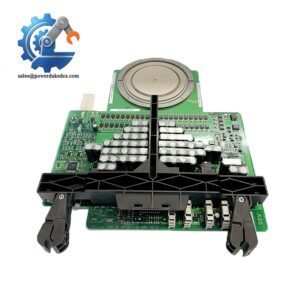
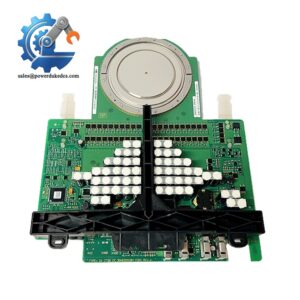
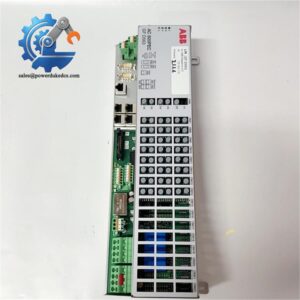
ABB 3BHL000986P7002, identified as LWN2660-6E, is an industrial AC-DC power supply for control and electrical equipment. Available technical listings identify it as a 24 V, 250 W supply, making it suitable for replacement work where the installed power unit must match the existing ABB configuration.
For maintenance teams, the useful number is 250 W—not a vague claim about performance. A spare should be selected against the cabinet’s actual load, input range, wiring, and output configuration. Some sources describe related LWN 2660-6 variants differently, so check the exact nameplate and ABB documentation before ordering.
Key Technical Specifications
| Parameter | Specification |
|---|---|
| Manufacturer | ABB |
| Part Number | 3BHL000986P7002 |
| ABB Type Designation | LWN2660-6E |
| Product Type | AC-DC Power Supply |
| Rated Output Voltage | 24 V DC |
| Rated Output Power | 250 W |
| Application | Industrial control and automation power |
| Input Type | AC |
| Installation | Industrial cabinet / power system |
| Protection | Verify exact protection functions from the applicable datasheet |
| Weight | Approx. 3.67 lb / 1.66 kg listed by Radwell |
| Condition | New Surplus, non-refurbished |
| Lifecycle | Legacy / replacement-market part |
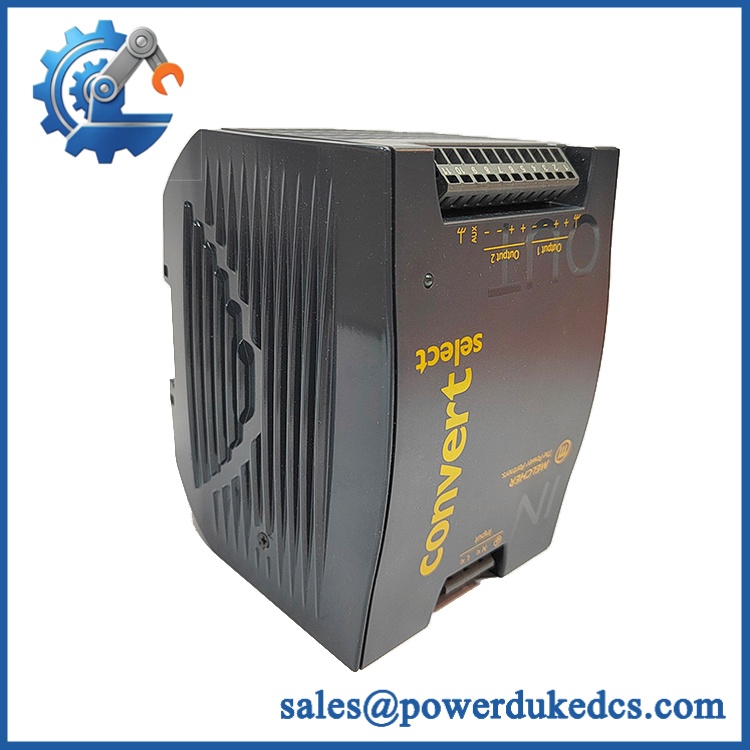
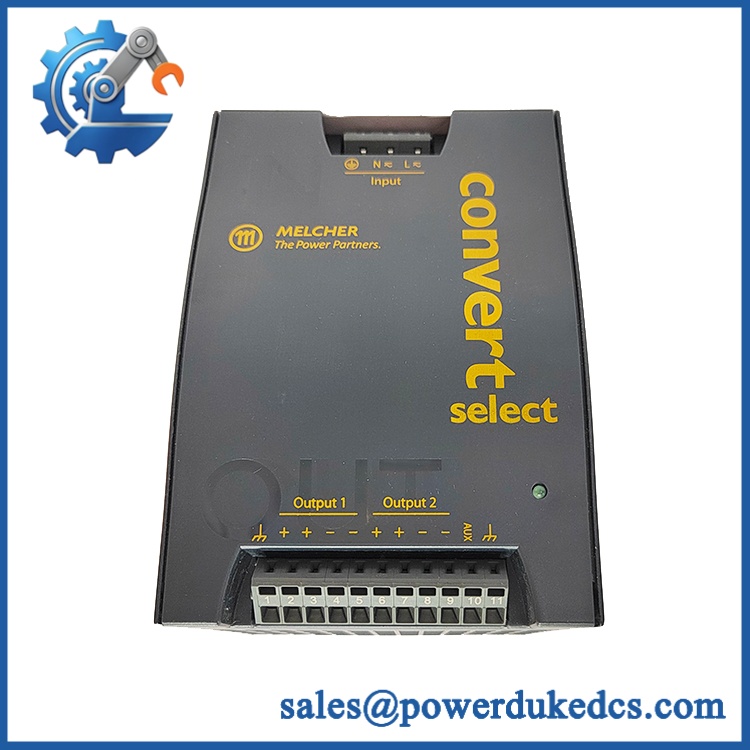
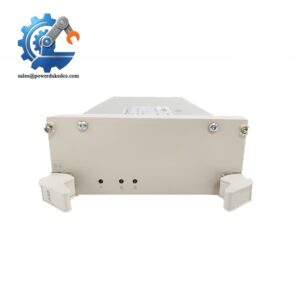
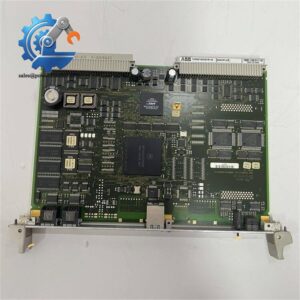
ABB LWN2660-6E 3BHL000986P7002
The 24 V / 250 W rating and LWN2660-6E identification are supported by multiple aftermarket listings. ABB catalog-derived data also identifies the part as a power supply and lists LWN2660-6E as the ABB type designation.
Installation & Configuration Guide
Stage 1: Pre-Installation — About 10 minutes
⚠️ Safety first.
- Notify production and confirm the shutdown window.
- Stop the connected equipment safely.
- Disconnect the AC input power, including UPS or auxiliary feeds.
- Verify zero voltage with a suitable meter.
- Wait for the manufacturer’s specified discharge time.
- Wear an ESD wrist strap when handling the replacement.
- Photograph the existing power supply, terminals, jumpers, and wiring.
- Record the input wiring and DC output polarity.
- Confirm that the replacement is exactly / 3BHL000986P7002.
Do not copy a wiring diagram from a visually similar LWN unit. Small suffix differences matter.
Stage 2: Remove the Existing Power Supply — About 5 minutes
- Confirm power isolation.
- Label every incoming and outgoing conductor.
- Photograph the terminal arrangement.
- Disconnect the AC input conductors.
- Disconnect the DC output conductors.
- Release the mechanical mounting hardware.
- Remove the old unit without pulling on the cables.
- Inspect the cabinet terminals for heat discoloration or loose connections.
Check the old terminals carefully. A darkened terminal may indicate an existing overload or poor connection rather than a bad power supply.
Stage 3: Install the Replacement — About 5–10 minutes
- Inspect the new unit before installation.
- Verify the nameplate and part number.
- Mount the power supply in the original position.
- Connect AC input wiring according to the approved wiring diagram.
- Connect the DC output with correct polarity.
- Tighten terminals to the manufacturer’s specified torque.
- Check that no conductor is loose or exposed.
- Confirm ventilation clearance around the power supply.
- Compare the finished wiring with the photographs taken before removal.
Stage 4: Power-On & Testing — About 10 minutes
- Measure the cabinet input voltage before connecting the load.
- Energize the AC input.
- Measure the DC output.
- Confirm the output is within the equipment’s specified range.
- Apply the downstream load.
- Watch for abnormal temperature rise, noise, smell, or voltage fluctuation.
- Check connected PLC, I/O, controller, or communication equipment.
- Record the measured voltage and replacement serial number.
- Monitor the cabinet for at least 30 minutes.
Do not use 24 V DC as a blanket acceptance value for every installation. The actual acceptable range must come from the applicable ABB documentation and the connected equipment requirements.
Quality Inspection SOP
1. Incoming Inspection
- Verify the supplier’s packing list and traceability documents.
- Check serial number and identification label.
- Inspect for corrosion, scratches, discoloration, or repair marks.
- Check the enclosure and terminals.
- Verify included accessories where applicable.
2. Live Functional Test
Use a suitable industrial test setup.
- Apply rated input power.
- Check startup behavior.
- Measure DC output voltage.
- Check output stability under an appropriate test load.
- Monitor temperature during extended operation.
- Record the results in a Test Report.
For this power-supply model, communication-handshake testing is not the main acceptance test. Electrical output testing is more relevant.
3. Electrical Tests
Where applicable:
- Insulation resistance test
- Protective-earth continuity test
- Input/output voltage measurement
- Load test
- Dielectric withstand test according to the applicable procedure
A 500 V insulation test should only be performed when permitted by the manufacturer’s test requirements. Do not apply a generic megohmmeter procedure to electronic equipment without checking the manual.
4. Identification & Configuration
- Record the exact type designation.
- Photograph the nameplate.
- Record input/output specifications.
- Record any adjustable output setting or jumper configuration.
- Keep the test record with the unit’s serial number.
5. Final QC & Packaging
- QC inspector signs the inspection record.
- Place the unit in an ESD-safe package where applicable.
- Add cushioning material.
- Use a suitable outer carton.
- Apply a QC identification label.
Test photos and videos can be provided when available.
Technical Pitfalls Before Replacement
1. Wrong LWN Variant
This is an easy mistake.
Several online listings use similar LWN2660-6 descriptions, while technical details can differ between variants. One source identifies the replacement as , while other listings use LWN2660-6 or LWN2660-6EG.
Check the complete nameplate before purchasing.
2. Output Power Calculation
Do not size the replacement from the old unit’s label alone.
Calculate:
Required power = connected load × design margin
For example, a 200 W continuous load should not automatically be treated as a 200 W target. Allow suitable engineering margin based on startup current, ambient temperature, cabinet ventilation, and the manufacturer’s derating curve.
3. AC Input Mismatch
A 24 V output does not tell you whether the AC input is suitable.
Verify:
- Input voltage range
- Input frequency
- Inrush current
- Protective device rating
- Earthing arrangement
A technical listing for the related part family reports an 85–264 VAC input range, but this should be confirmed against the exact 3BHL000986P7002 documentation before use.
4. Terminal Wiring
Take photographs before disconnecting anything.
Check:
- AC input terminals
- DC positive
- DC negative
- Protective earth
- Cable gauge
- Terminal torque
Do not rely on cable color alone.
5. ESD and Handling
Power supplies contain electronic switching components.
Use an ESD-safe work area when handling the unit. Avoid touching PCB areas unnecessarily. In a dry winter cabinet, static discharge can happen before you even notice it.
FAQ
1. What is ABB 3BHL000986P7002?
It is an ABB power-supply part number associated with the designation. Available technical records identify it as an AC-DC power supply with a 24 V, 250 W specification.
2. Is the same part as 3BHL000986P7002?
Yes, available ABB catalog-derived information maps 3BHL000986P7002 to the ABB type designation .
3. Can I use it as a direct replacement?
Only after checking the complete electrical specification. Match input range, output voltage, output power, terminal arrangement, mounting method, and system requirements. Similar LWN designations should not be treated as interchangeable without documentation.
4. What is the output rating?
The commonly listed specification is 24 V DC and 250 W. Radwell also lists the part as an 24 V / 250 W AC-DC converter.
5. Should I keep one spare in stock?
For a production system that depends on this legacy power supply, 1 spare unit is a reasonable buffer-stock starting point. If failure would stop an entire production line and replacement lead time is uncertain, holding 2 units may make sense after comparing the carrying cost with the expected downtime cost.
6. Is the unit new original?
The product condition should be confirmed on the actual unit before purchase. Market listings offer both new and refurbished condition categories, so do not treat a part-number match as proof of condition. Request nameplate photos, packaging photos, and available inspection records.
7. What should I check if the replacement does not power the cabinet?
Use a three-step check:
- Measure the AC input at the power-supply terminals.
- Verify DC output voltage and polarity.
- Disconnect or isolate the downstream load if the output collapses.
If the input is correct but the output remains abnormal, stop repeated power cycling and check the manufacturer’s test procedure. A downstream short circuit can make a good replacement look faulty.


 Start Chat