

Description
- Model: GFD233A 3BHE022294R0101
- Brand: ABB
- Series: ABB industrial automation control system
- Core Function: Provides dedicated control/interface functions in an ABB automation system
- Type: Industrial automation module / control board
- Key Specs: GFD233A designation; ABB order number 3BHE022294R0101; application depends on the host system
- Condition: New Surplus, refurbished, or used — confirm actual stock condition before purchase
Technical note: Publicly available information for this older ABB reference is limited. Exact electrical ratings, interfaces, dimensions, firmware requirements, and host-system compatibility should be confirmed from the original ABB documentation or the installed equipment before replacement.
Product Introduction
A spare board is only useful when it matches the installed system. ABB GFD233A 3BHE022294R0101 is an ABB industrial automation spare component intended for use within a compatible ABB control platform. For procurement, the complete part number and board revision matter more than the product name printed in a supplier catalog.
For a legacy installation, keep the replacement decision practical: compare the original label, PCB revision, connector arrangement, cabinet position, and system documentation. If the application is production-critical, one tested buffer unit can be cheaper than emergency sourcing after a shutdown. Exact technical data should be checked against the applicable ABB manual.
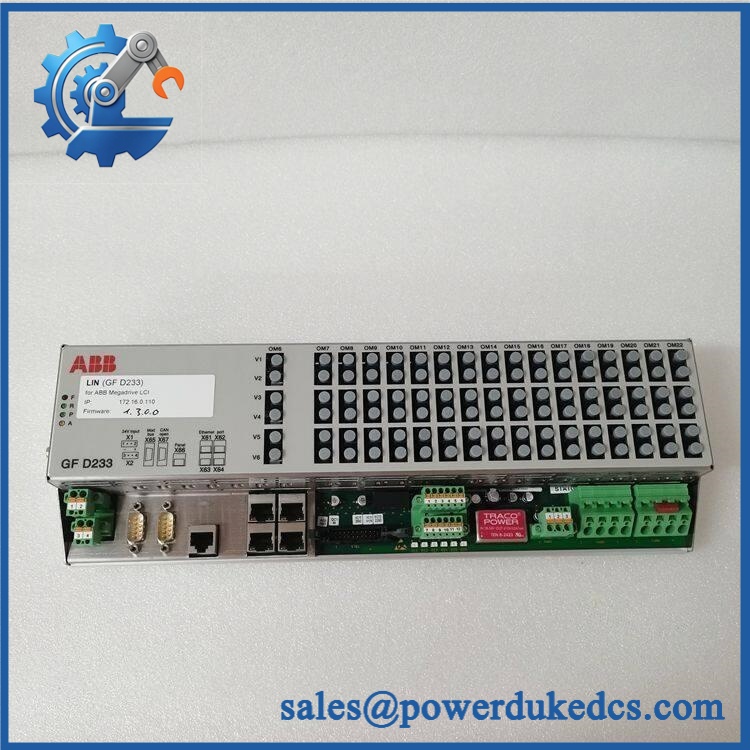
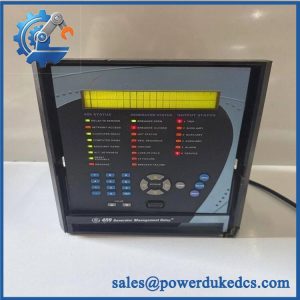
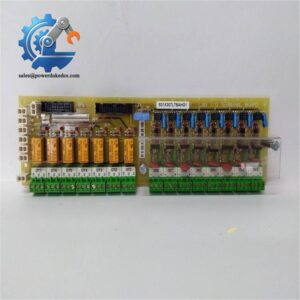
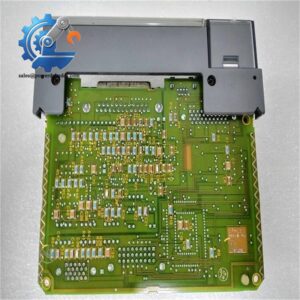
ABB GFD233A 3BHE022294R0101
Do not use unverified voltage, current, temperature, or communication data for cabinet design. The original ABB documentation should take priority.
Installation & Configuration Guide
Estimated replacement time: 30–60 minutes
Stage 1 — Pre-Installation: 10 minutes
⚠️ Safety first.
- Inform the production team about the planned shutdown.
- Put the controlled equipment into a safe state.
- Switch off the control-system power.
- Isolate the UPS supply where applicable.
- Wait for the discharge period specified by the equipment manual.
- Wear an ESD wrist strap.
Prepare:
- PH1 screwdriver
- Multimeter
- ESD wrist strap and mat
- Cable labels
- Marker
- Phone or camera
- Original wiring diagram
- ABB service documentation
Take photographs before touching the old board.
Record:
- Complete part number
- Serial number
- Hardware revision
- Connector positions
- Cable routing
- DIP-switch settings
- Jumper settings
- Rack or cabinet location
Stage 2 — Remove the Existing Module: 5–10 minutes
- Confirm the equipment is fully de-energized.
- Label every connected cable.
- Photograph each connector.
- Remove retaining screws or clips.
- Disconnect cables carefully.
- Release the module from its rack or mounting position.
- Pull the board straight out where the mechanical design requires it.
Inspect the connector area.
Look for:
- Bent pins
- Oxidation
- Dust
- Burn marks
- Loose terminals
Never pull a board by its cable harness.
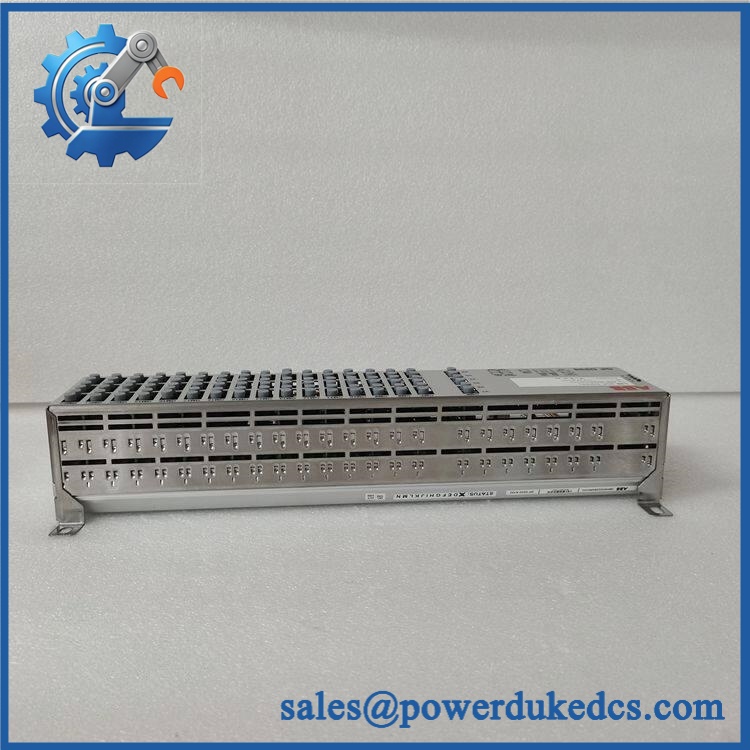
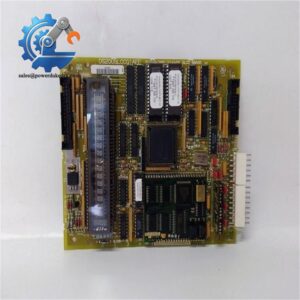
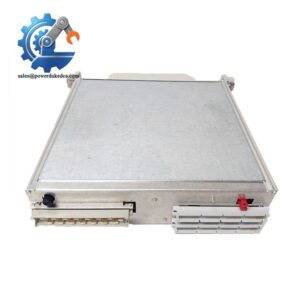
ABB GFD233A 3BHE022294R0101
Stage 3 — Install the Replacement: 10 minutes
- Check the complete ABB part number.
- Compare the replacement with the original board.
- Verify hardware revision.
- Compare connector positions.
- Copy documented jumper or DIP-switch settings.
- Insert the board into the correct position.
- Secure the retaining hardware.
- Reconnect each cable using the photographs and wiring diagram.
- Check every connector once more.
Do not assume that two boards with similar ABB names have identical electrical connections.
Stage 4 — Power-On & Testing: 10–30 minutes
Before energizing:
- Verify all wiring.
- Check that connectors are seated.
- Confirm the power source against the host-system specification.
- Remove all tools from the cabinet.
Power the system according to the ABB service procedure.
Then verify:
- Module status indicators.
- Controller diagnostics.
- Communication status.
- Relevant I/O or feedback signals.
- HMI/SCADA status.
- Alarm history.
- Normal equipment operation.
Run a controlled functional test.
Record:
- Replacement date
- Technician
- New serial number
- Hardware revision
- Firmware information, if applicable
- Test results
If communication fails, stop and diagnose before repeated power cycling.
Check the board revision, configuration, wiring, and host-system compatibility.
Quality Inspection SOP
1. Incoming Inspection
Verify:
- Supplier source documentation
- Serial number
- ABB label
- Part number
- Hardware revision
- PCB condition
- Connector condition
- Corrosion
- Scratches
- Repair marks
- Aging or discoloration
- Included documentation
Photograph the actual unit.
2. Live Test
Use the compatible ABB host system or an approved test rack where available.
Test:
- Power-up behavior
- Status LEDs
- Communication
- Relevant control signals
- System diagnostics
- Continuous operating condition
A Test Report should identify the actual serial number tested.
3. Electrical Testing
Where applicable:
- Insulation resistance
- Ground continuity
- Supply-voltage verification
- Withstand-voltage testing
Test limits must come from the applicable ABB specification.
Do not invent a universal 500 V insulation-test requirement for this board.
4. Firmware / Configuration Verification
Record:
- Firmware revision, if applicable
- Hardware revision
- DIP-switch settings
- Jumper positions
- Configuration parameters
Back up the original configuration before removal.
5. Final QC and Packaging
After testing:
- QC inspector signs the report
- Place the module in an ESD bag
- Add bubble protection
- Use a rigid carton
- Attach QC identification
- Record inspection date
Test photographs and videos can be supplied when available.
Spare Inventory Recommendation
For an older ABB spare, inventory policy should reflect failure impact and lead time variability.
| Situation | Stocking Recommendation |
|---|---|
| Critical production equipment | 1 tested unit on site |
| Multiple identical systems | 1–2 shared buffer units |
| Long supplier lead time | Increase safety stock |
| Low annual usage | Avoid excessive inventory |
| EOL risk | Consider a controlled last-time-buy |
| Frequent consumption | JIT replenishment |
| Slow-moving spare | Vendor-managed or consignment stock |
| Unknown used stock | Test before adding to critical inventory |
The carrying cost matters.
A large stockpile can become obsolete capital if the host system is upgraded. A single verified spare may provide enough insurance for a critical asset without creating excess inventory.
Technical Replacement Risks
1. Hardware Revision Mismatch
Older ABB systems can contain multiple board revisions.
Avoid the mistake: record the complete label before ordering.
If the replacement revision differs, check the approved replacement relationship before installation.
2. Connector or Pinout Differences
A connector can physically look correct and still have a different pin assignment.
Check the wiring diagram.
Never transfer cables solely because the connector fits.
3. Firmware or Configuration Difference
Where firmware applies, the installed controller may require a particular revision.
Record the original version before replacement.
Well, technically, not every ABB board has user-upgradable firmware. Confirm this from the actual system documentation.
4. Power Supply Capacity
Do not calculate cabinet power from a generic listing.
Check the ABB system manual for the actual module consumption and total rack load. Keep suitable power margin for the complete installation.
5. ESD Damage
Use proper ESD protection.
- Wear an ESD wrist strap.
- Work on an ESD mat.
- Hold the PCB by its edges.
- Keep the board inside its ESD bag until installation.
A replacement board can be damaged before it ever reaches the rack.
FAQ
1. What is ABB GFD233A 3BHE022294R0101 used for?
It is an ABB industrial automation spare component. The exact control or interface function should be confirmed against the host equipment because public catalog information for legacy ABB references can be incomplete.
For a replacement order, provide a photo of the original label and the cabinet/system model.
2. Can I directly replace my existing GFD233A?
Possibly, but verify the complete part number and hardware revision first.
| Check | Required |
|---|---|
| ABB part number | 3BHE022294R0101 |
| Model | |
| Hardware revision | Compare |
| Connectors | Compare |
| Host system | Confirm |
| Configuration | Copy and verify |
| Firmware | Confirm if applicable |
Same-looking does not mean same function.
3. My ABB system is old. Should I keep one spare?
For a production-critical system, yes, one tested spare is a sensible buffer stock level.
If the component has long lead time or EOL risk, a controlled last-time-buy may make sense. Do not stock large quantities without checking the remaining service life of the host system.
4. Can this board be hot-swapped?
Do not assume hot-swapping is supported.
Unless the applicable ABB manual explicitly permits live replacement for the exact host system, use a controlled shutdown and isolate the power before removing the board.
This avoids unnecessary electrical and configuration risk.
5. How can I confirm the correct replacement before buying?
Three checks save time:
- Photograph the original label.
- Send the complete ABB part number.
- Provide the host-system model and cabinet position.
If the board has a revision code, include that too.
6. Is the part new original?
The condition depends on the actual inventory offered.
For purchasing, ask the supplier to state one of these clearly:
- New Surplus
- Used
- Refurbished
- Repaired
Request actual product photos and the serial-number label. For a critical spare, also request the test report and warranty terms.
7. What price should I use for procurement?
Any online listing price should be treated as a reference price, not a guaranteed final transaction price.
For a legacy component, total cost of ownership includes purchase price, inspection, storage, warranty, freight, lead time, and the financial impact of a potential production stoppage. A tested unit with clear traceability may be worth more than a cheaper untested board.



 Start Chat