

Description
- Model: CMA130
- Part Number: 3DDE300410
- Brand: ABB
- Series: CMA 130 / Synpol D
- Core Function: Provides local operator display and system status visualization
- Type: Display Front Panel / Operator Interface
- Key Specs: Synpol D application; industrial operator interface; legacy ABB hardware
- Condition: New Surplus, non-refurbished
- Lifecycle: Legacy / discontinued according to current supplier listings
Product Introduction
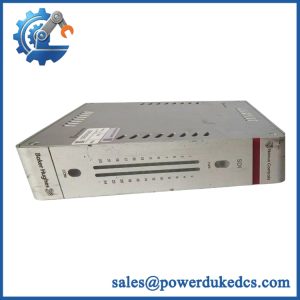
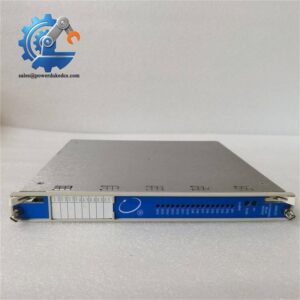
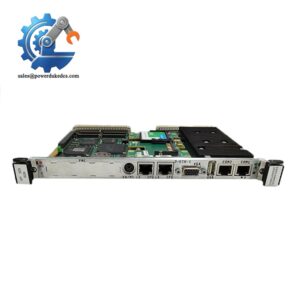
When an older Synpol D installation loses its local display, the problem is not always the control processor. ABB CMA130 3DDE300410 is identified in current parts listings as a Display Front Panel for ABB industrial automation equipment, with the part number 3DDE300410 corresponding to CMA130.
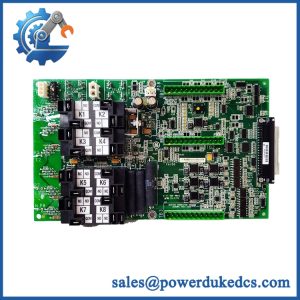
For maintenance procurement, exact identification matters. Some third-party listings describe the same code as a Synpol D display panel, while another describes it as an inverter power board, so generic specifications should not be copied into a purchase order without checking the physical nameplate and applicable ABB documentation.
Key Technical Specifications
| Parameter | Specification |
|---|---|
| Manufacturer | ABB |
| Model | CMA130 |
| Part Number | 3DDE300410 |
| Product Type | Display Front Panel / Operator Interface |
| Associated System | Synpol D |
| Application | Industrial control and operator display |
| Hardware Family | CMA 130 |
| Interface Function | Local system status / operator visualization |
| Supply Voltage | Verify from original ABB documentation |
| Display Resolution | Verify from original ABB documentation |
| Display Size | Verify from original ABB documentation |
| Communication Interface | System-dependent; verify before replacement |
| Operating Temperature | Verify from original ABB documentation |
| Dimensions | Supplier listings vary; verify physical unit before installation |
| Weight | Supplier listings report approximately 0.52 kg; verify actual shipping data |
| Condition | New Surplus, non-refurbished |
| Lifecycle | Legacy / reported discontinued |
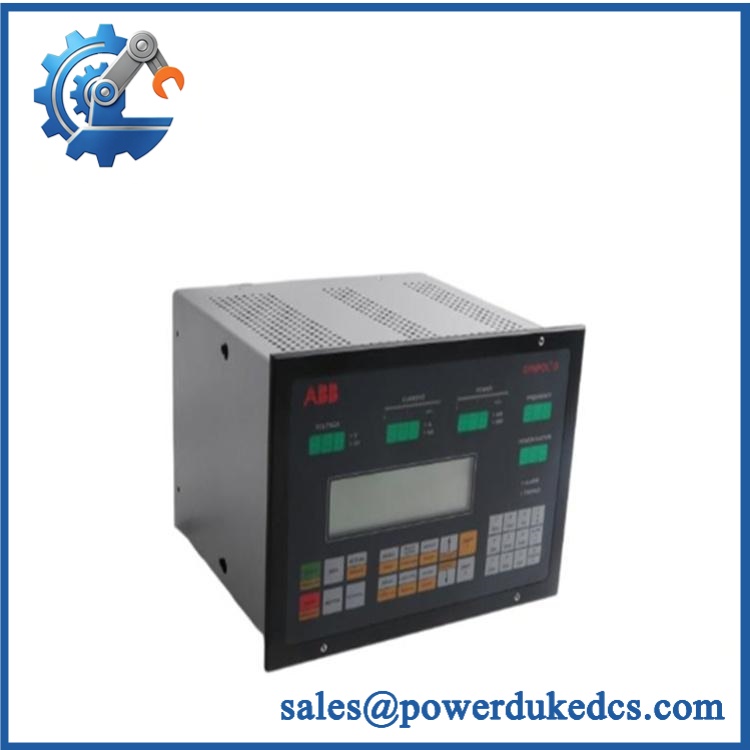
ABB CMA130 3DDE300410
Specification note: Some online listings publish conflicting values for display size, voltage, dimensions, and even product function. Those figures should not be treated as authoritative ABB specifications. The exact nameplate and original ABB manual should control the purchasing and installation decision.
Installation & Configuration Guide
Stage 1: Pre-Installation — About 10 minutes
⚠️ Safety first.
This is an industrial operator/display component associated with legacy ABB control equipment. Treat the connected cabinet as energized equipment until isolation has been verified.
- Notify the production team about the planned shutdown.
- Put the controlled process into a safe state.
- Disconnect the control-system power, including applicable UPS supplies.
- Verify absence of hazardous voltage with an approved meter.
- Wait for the discharge period specified by the system documentation.
- Wear an ESD wrist strap.
- Photograph the complete CMA130 front panel.
- Photograph every rear connector and cable.
- Record the old unit’s label, serial number, and hardware revision.
- Save the current system configuration where applicable.
Take the photos before removing anything. A clear rear-panel photograph is often more useful than a memory of how the cables looked.
Stage 2: Remove the Existing Panel — About 5–10 minutes
- Confirm that power has been isolated.
- Label each cable or connector.
- Photograph the connector arrangement again.
- Release the panel mounting hardware.
- Disconnect the rear connectors carefully.
- Avoid pulling directly on cable conductors.
- Remove the panel from the mounting position.
- Inspect connectors for oxidation, bent pins, dust, or heat damage.
- Keep the original panel available for comparison.
⚠️ Do not force a connector. If it does not release normally, identify its locking mechanism first.
Stage 3: Install the Replacement — About 5–10 minutes
- Verify CMA130 / 3DDE300410 against the removed unit.
- Inspect the replacement housing and connector.
- Confirm the mechanical mounting dimensions.
- Compare all rear connectors with the old panel.
- Connect each cable according to the photographs and wiring documentation.
- Secure the panel mechanically.
- Check that no cable is trapped behind the panel.
- Confirm that connectors are fully seated.
- Check the panel alignment before energizing the system.
Do not assume that another ABB display with a similar enclosure is electrically interchangeable.
Stage 4: Power-On & Testing — About 10–15 minutes
- Perform a final wiring inspection.
- Verify the applicable supply voltage from the ABB documentation.
- Energize the control system.
- Observe the display during startup.
- Check for abnormal messages or diagnostic indications.
- Confirm that expected system data appears.
- Operate several available display functions.
- Verify that displayed values correspond with the controller.
- Check operator input functions where applicable.
- Monitor the system for at least 30 minutes.
⚠️ Do not assign LED or display fault meanings from a generic ABB module guide. Use the documentation for the actual Synpol D configuration.
Quality Inspection SOP
1. Incoming Inspection
The inspection starts with identification.
- Verify marking.
- Verify 3DDE300410 part number.
- Record the serial number.
- Check original packaging where available.
- Inspect the display surface for cracks and scratches.
- Check the housing for corrosion or yellowing.
- Inspect rear connectors for bent pins.
- Look for evidence of previous repair.
For traceability, retain supplier packing information and available origin documentation.
2. Live Functional Test
Use a suitable ABB-compatible Synpol D test environment where available.
Test the following:
- Power-up behavior
- Display startup
- Screen visibility
- System data presentation
- Operator input, where applicable
- Controller communication
- Alarm/status display
- Continuous operation
Generate a Test Report with the part number, serial number, test environment, firmware information where accessible, and measured results.
3. Electrical Inspection
Where permitted by the applicable ABB procedure:
- Supply voltage verification
- Ground continuity
- Connector continuity
- Applicable insulation checks
- Functional signal verification
Do not apply a generic 500 V insulation test directly to electronic display circuitry unless the manufacturer’s procedure explicitly allows it.
4. Firmware / Configuration Verification
For an operator interface, configuration can be just as important as hardware.
- Record firmware revision if accessible.
- Record hardware revision.
- Photograph configuration switches or jumpers if present.
- Back up applicable display configuration.
- Record communication parameters.
- Compare the replacement configuration with the removed panel.
5. Final QC and Packaging
- QC inspector signs the inspection record.
- Protect the display surface with suitable material.
- Place the unit in ESD-safe packaging where appropriate.
- Add cushioning around the panel.
- Use a rigid carton.
- Apply QC identification and inspection date.
Test photographs can be supplied to the customer when available.
Technical Pitfalls Before Replacement
1. Product Function Confusion
This deserves attention.
Current third-party listings do not describe this part consistently. Several identify 3DDE300410 as a Display Front Panel, while another listing calls it an inverter power board.
For purchasing, trust the physical ABB label and system documentation over generic web descriptions.
2. Connector Compatibility
A display panel can look identical while using a different connector configuration.
Before ordering:
- Photograph the rear side of the existing panel.
- Record every connector designation.
- Compare connector count and keying.
- Verify the wiring diagram.
- Confirm compatibility with the specific Synpol D installation.
3. Configuration Mismatch
Replacing the hardware does not necessarily reproduce the customer’s display configuration.
Save the existing configuration before removal where the system permits it. Check communication parameters and display settings after installation.
4. Supply Voltage Assumptions
Some third-party pages list 220 V for this part, while other technical details are inconsistent.
Do not use 220 V as an installation instruction without checking the original ABB documentation.
This is one of those cases where a wrong assumption can turn a replacement job into a damaged-module incident.
5. ESD Protection
Use an ESD wrist strap and antistatic work surface.
Do not touch exposed electronic contacts unnecessarily. Keep the replacement in its antistatic packaging until the installation point is ready.
Spare Parts Inventory Recommendation
ABC / Criticality Position
For a legacy Synpol D installation, should be treated as a potentially high-criticality, slow-moving spare if the operator interface is no longer readily available.
| Inventory Factor | Recommendation |
|---|---|
| Demand Pattern | Usually slow-moving |
| Criticality | Potentially high |
| Lead Time Variability | Potentially high for legacy stock |
| Buffer Stock | 1 unit for shutdown-critical equipment |
| Safety Stock | Consider 1–2 units if replacement sourcing is difficult |
| Reorder Trigger | Before available stock reaches zero |
| Last-Time-Buy | Consider if confirmed EOL |
| Vendor Strategy | Consolidate with a supplier able to provide traceability and testing |
| TCO Focus | Compare holding cost against production downtime |
| Lifecycle Action | Maintain an EOL / obsolescence record |
Do not overstock blindly. If several plants use the same hardware, cross-site sharing can reduce total inventory value while maintaining emergency coverage.
FAQ
1. What is ABB 3DDE300410?
It is an ABB Display Front Panel / operator interface associated with the Synpol D system according to several current parts listings. The ordering identification is with material number 3DDE300410.
2. Is 3DDE300410 the same as ?
Yes. Current supplier references consistently pair with 3DDE300410.
3. Can this display be directly installed in my Synpol D system?
Only after confirming the exact configuration. Check the original panel’s part number, connectors, mounting arrangement, firmware/configuration, and system revision. Exact replacement is preferable to selecting a similar display based only on appearance.
4. Is discontinued?
At least one current supplier listing explicitly marks as discontinued by the manufacturer. Because lifecycle information can vary by regional support status, confirm the current ABB status before making a last-time-buy decision.
For a production-critical installation, this is a good candidate for buffer stock.
5. I found different specifications online. Which one should I trust?
Use the ABB nameplate and original documentation as the primary reference.
Current third-party pages conflict on several details, including dimensions, operating voltage, weight, and even functional description.
That is a strong reason to request actual product photos before purchase.
6. How can I verify a replacement before shipment?
Ask the supplier for:
- Front and rear photos
- Clear 3DDE300410 nameplate photo
- Serial number
- Connector photos
- Condition photos
- Test Report, if available
- Packaging photos
- Warranty terms
Do not rely on a stock-list screenshot alone.
7. What if the replacement display powers up but shows incorrect information?
Check the configuration and communication path before replacing the hardware again.
Verify:
- Controller communication.
- Display configuration.
- Firmware/hardware revision.
- Connector seating.
- Correct system parameters.
A working screen does not prove that the display is correctly configured for the installed control system.


 Start Chat