

Description
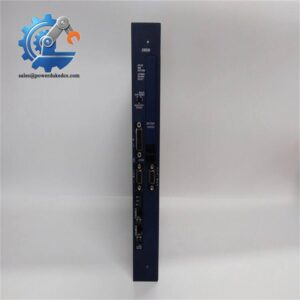
- Model: HIEE300888R0001
- Brand: ABB
- Series: ABB HIEE300888 Hardware Family
- Core Function: Provides dedicated control-system processing
- Type: Industrial Automation Control Module
- Key Specs: ABB legacy hardware; HIEE300888R0001 part number; system-specific application
- Condition: New Surplus, non-refurbished
Product Introduction
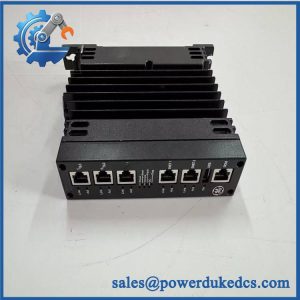
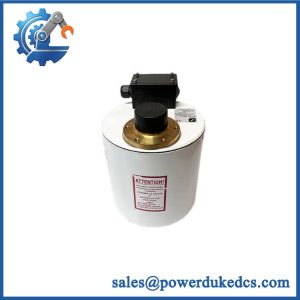
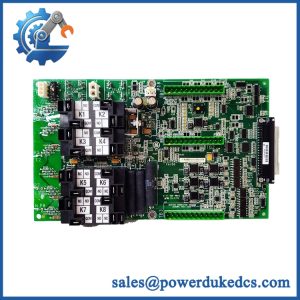
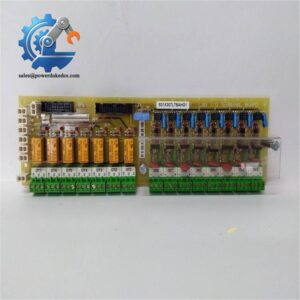
ABB HIEE300888R0001 is an ABB industrial automation spare part identified by the HIEE300888R0001 ordering code. It belongs to ABB’s legacy control hardware range and is intended for replacement use in systems where the original hardware designation must be preserved. For maintenance teams, exact part-number matching is more important than selecting a visually similar module.
This is a part where documentation matters. Public technical information for the exact suffix is limited, so specifications such as supply voltage, I/O count, communication interface, firmware compatibility, and dimensions should not be guessed. For a shutdown-critical installation, keep a verified spare as buffer stock and confirm the original system configuration before ordering.
Key Technical Specifications
| Parameter | Specification |
|---|---|
| Manufacturer | ABB |
| Part Number | HIEE300888R0001 |
| Product Family | ABB HIEE300888 hardware |
| Product Type | Industrial automation control module |
| Application | ABB control and automation systems |
| Installation | System cabinet / rack installation |
| Communication Interface | System-dependent; verify from original documentation |
| Power Supply | Verify from applicable ABB documentation |
| I/O Configuration | Verify from the installed system |
| Firmware | Revision-dependent |
| Operating Temperature | Please confirm from the original ABB manual |
| Dimensions | Please confirm from the original ABB manual |
| Weight | Please confirm from the original ABB manual |
| Condition | New Surplus, non-refurbished |
| Lifecycle | Legacy hardware; stock availability may vary |
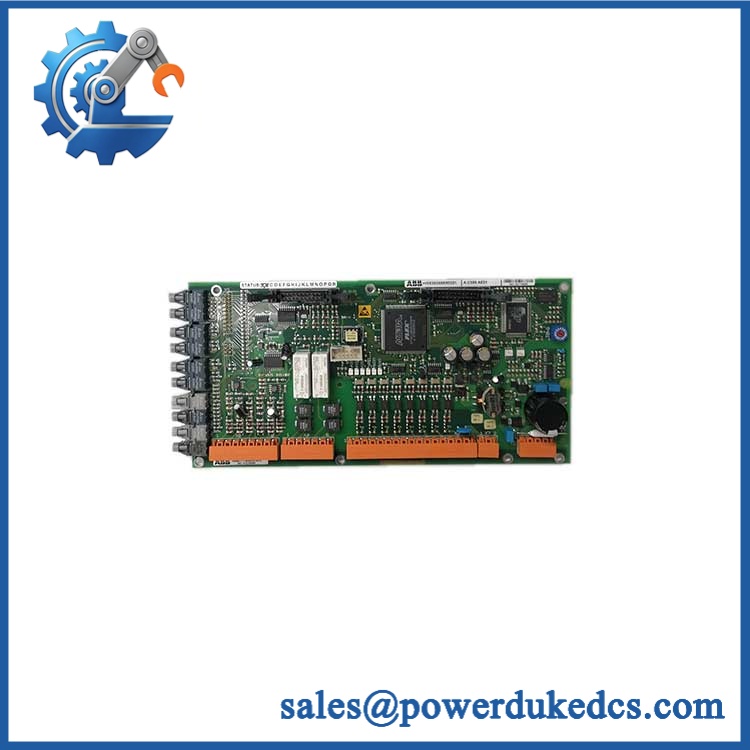
ABB HIEE300888R0001
Installation & Configuration Guide
Stage 1: Preparation — About 10 minutes
⚠️ Safety first.
- Notify the production department of the planned shutdown.
- Put the controlled process into a safe condition.
- Switch off the control-system power, including relevant UPS supplies.
- Verify that hazardous voltage is absent with an approved meter.
- Wait for the discharge time specified by the ABB system documentation.
- Put on an ESD wrist strap.
- Photograph the existing module from the front and rear.
- Record all cable positions and connector labels.
- Save the current controller configuration before removing hardware.
Stage 2: Removal — About 5 minutes
- Confirm that power is isolated.
- Photograph the old module configuration.
- Label each connector before disconnecting it.
- Release the applicable rack or mounting mechanism.
- Remove the module without twisting the connector.
- Inspect the backplane and connector contacts.
- Keep the original module available for side-by-side comparison.
Do not force the module. If it does not release normally, check the specific rack locking mechanism.
Stage 3: Installation — About 5 minutes
- Check the replacement label against HIEE300888R0001.
- Inspect the housing, connector, and terminals.
- Confirm the correct rack position.
- Reproduce documented switch or jumper settings where applicable.
- Insert the module carefully into the rack.
- Lock the module in place.
- Reconnect each cable using the photographs and wiring documentation.
- Check that all connectors are fully seated.
If the replacement has a different hardware revision, stop and verify compatibility before powering the system.
Stage 4: Power-On & Testing — About 10–15 minutes
- Perform a final wiring inspection.
- Check the control-system supply voltage against the ABB manual.
- Power the rack.
- Observe all available status LEDs.
- Check controller diagnostics.
- Confirm that the module is recognized by the system.
- Verify communication where applicable.
- Test associated I/O or control functions.
- Check HMI/SCADA status if connected.
- Monitor the system for at least 30 minutes.
⚠️ Do not interpret LED colors without the applicable ABB manual. LED meanings can differ between ABB hardware families.
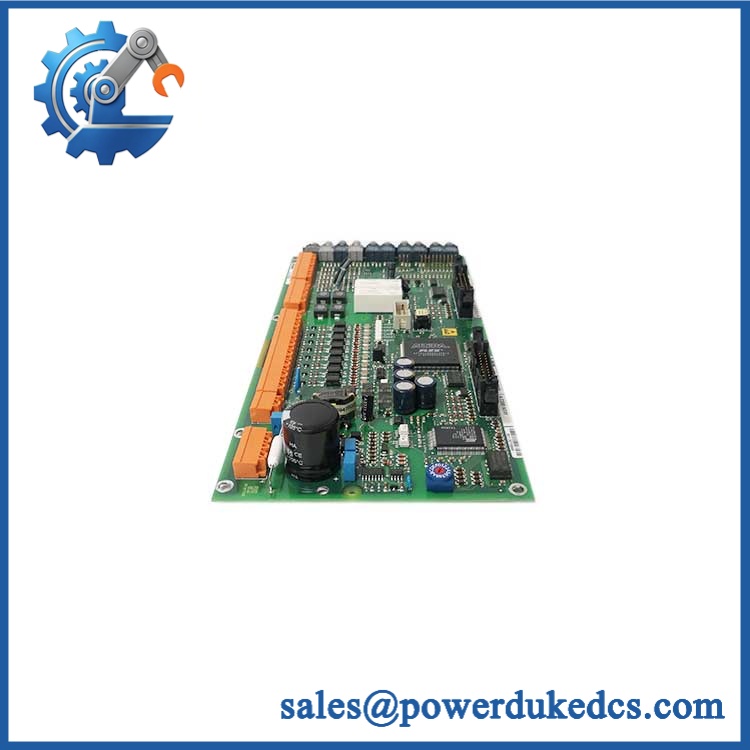
ABB HIEE300888R0001
Quality Inspection SOP
1. Incoming Inspection
- Verify the part number on the physical label.
- Record the serial number.
- Check supplier traceability documents where available.
- Inspect for corrosion, scratches, cracks, or discoloration.
- Check connectors for bent or oxidized contacts.
- Confirm accessories against the applicable BOM.
2. Live Functional Test
Use a suitable ABB-compatible test rack or the customer’s approved test environment.
Test items should include:
- Power-up self-test
- LED status
- Module recognition
- Communication handshake where applicable
- Associated I/O functions
- Continuous operation under an appropriate test condition
A Test Report should record the test date, serial number, test equipment, configuration, and results.
3. Electrical Inspection
Where permitted by the original ABB test procedure:
- Supply-voltage measurement
- Ground continuity
- Insulation testing
- Connector inspection
- Relevant signal measurements
Do not apply a generic 500 V insulation test to electronic circuits unless the manufacturer specifically permits it.
4. Firmware and Configuration Verification
- Read and record firmware revision where accessible.
- Record hardware revision.
- Photograph DIP switches or jumpers if present.
- Back up configuration data.
- Record any address or communication settings.
5. Final QC and Packaging
- QC inspector signs the inspection record.
- Place the module in suitable ESD protection.
- Add shock-absorbing packaging.
- Use a rigid outer carton.
- Apply the QC inspection label and date.
Available inspection photos or test records can be provided to the customer when available.
Technical Pitfalls Before Replacement
1. Firmware Revision Mismatch
A replacement module can have a different firmware revision from the installed unit.
Check before installation:
- Record the old firmware revision.
- Ask for the replacement revision.
- Compare compatibility requirements.
- Confirm whether firmware loading or downgrade is permitted.
I have seen this happen with legacy automation hardware: the replacement powers up normally, but the controller reports a communication fault. The module was not necessarily defective—the revision was the problem.
2. Connector and Pinout Differences
A similar-looking ABB module is not automatically a wiring-compatible replacement.
Check the wiring diagram.
Verify connector type, pin assignment, signal direction, shielding, and grounding before reconnecting cables.
3. Rack Position
Some legacy ABB systems identify hardware by its physical rack position or configuration.
Before removal, photograph the entire rack, not just the module. That single picture can save considerable commissioning time.
4. Power Requirements
Do not estimate power consumption from the enclosure size.
Verify the exact supply requirements in the applicable ABB documentation. If the replacement has a different electrical demand, check the power budget of the complete rack.
5. ESD Protection
Use an antistatic wrist strap and ESD-safe work surface.
Never handle exposed electronics unnecessarily. A static discharge may not leave visible damage, yet the module can fail later during operation.
FAQ
1. What is ABB ?
It is an ABB industrial automation spare part identified by the ordering code. Public information for this exact suffix is limited, so the precise module function should be confirmed from the physical nameplate and original ABB documentation.
2. Can I replace my existing ABB module directly?
Only after exact identification. Match the complete part number, hardware revision, connector arrangement, rack position, firmware, and system configuration. Do not use appearance alone as the replacement criterion.
3. My system uses an older firmware version. Will this unit work?
That depends on the controller and hardware revision. Record the installed firmware first, then compare it with the replacement. If the revisions differ, ask ABB or a qualified technical supplier to confirm compatibility before installation.
4. Is this module still manufactured?
The code is associated with legacy ABB hardware, but the exact lifecycle status should be confirmed from ABB or current supply records. For an EOL component, last-time-buy planning and buffer stock can be more practical than waiting for an emergency purchase.
5. How can I verify the unit before buying?
Ask for:
- Physical nameplate photo
- Serial-number photo
- Connector photos
- Condition photos
- Firmware or hardware revision, if readable
- Test Report, if tested
- Packaging photos
That gives procurement a much better basis than a part number alone.
6. What if the replacement powers on but the system cannot communicate?
Check the problem in this order:
- Rack position
- Connector seating
- Module address/configuration
- Firmware revision
- Controller hardware configuration
- Communication wiring
Do not immediately conclude that the replacement is faulty.
7. Should I keep this part as buffer stock?
For a shutdown-critical system, 1–2 verified spare units can be reasonable. Compare the unit cost with the expected downtime cost and current lead time. For a slow-moving legacy part, vendor-managed or consignment inventory may also make sense if the supplier offers it.


 Start Chat