

Description
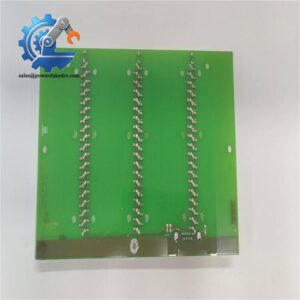
- Model: UFC760BE01 3BHB007030R0001
- Brand: ABB
- Series: UFC Series
- Core Function: Drive control and interface processing
- Type: Drive control module
- Key Specs: ABB UFC platform; industrial drive control application; board-level replacement spare
- Condition: New Original (New Surplus), non-refurbished
Product Introduction
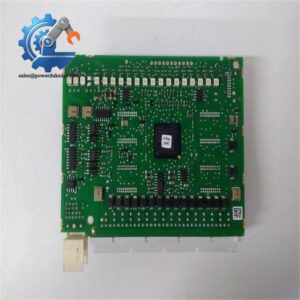
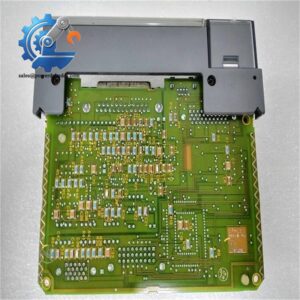
ABB UFC760BE01 3BHB007030R0001 is a UFC Series drive control module used in ABB industrial drive equipment for control, signal processing, and system interface functions. It is intended for maintenance replacement where the installed board must match the existing hardware configuration.
For a maintenance team, the main issue is not just getting the board in stock. Firmware revision, connector arrangement, and the host drive configuration must also match. This spare is a practical choice for ABB UFC drive maintenance, especially when an unexpected control-board fault could extend production downtime.
Key Technical Specifications
| Parameter | Specification |
|---|---|
| Manufacturer | ABB |
| Model | UFC760BE01 |
| Order Number | 3BHB007030R0001 |
| Product Family | UFC Series |
| Product Type | Drive control module |
| Application | Industrial drive control and maintenance |
| Function | Control and signal processing |
| Mounting | Internal drive/control assembly |
| System Interface | Dependent on host drive configuration |
| Operating Voltage | Please verify from the host-drive manual |
| Operating Temperature | Please verify from the applicable ABB manual |
| Firmware | Version must match the installed system where required |
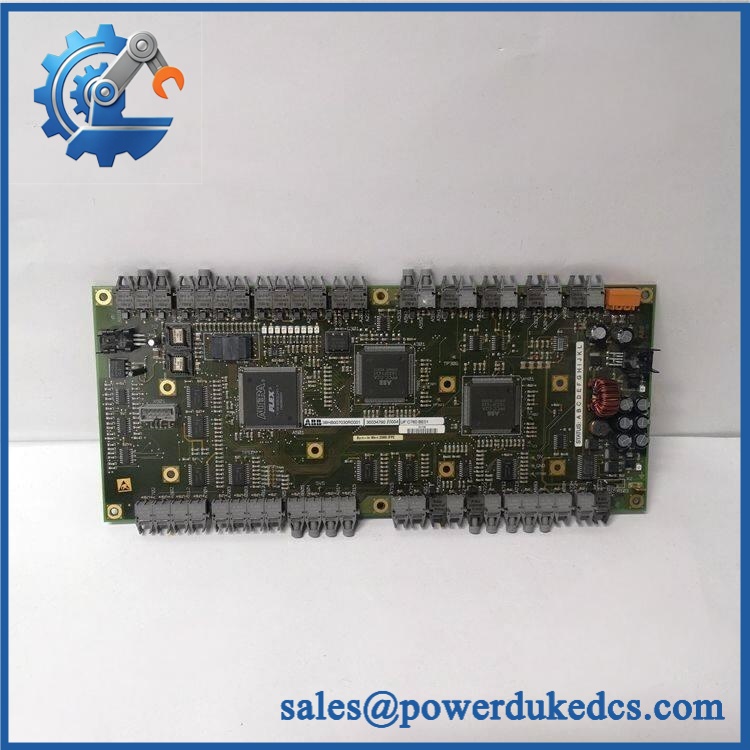
ABB UFC760BE01 3BHB007030R0001
Technical note: Exact electrical ratings, connector pin assignments, firmware compatibility, and environmental limits should be checked against the ABB documentation for the specific host drive before replacement.
Installation & Configuration Guide
Stage 1: Pre-Installation — About 10 minutes
⚠️ Safety first.
- Notify the production team and confirm the planned shutdown window.
- Place the drive system in a safe state. Stop motors and isolate controlled equipment.
- Disconnect the control power and main power, including UPS-fed circuits where applicable.
- Wait for the period specified by the drive manual before touching internal components. Do not assume that a DC bus is discharged simply because the display is off.
- Wear an ESD wrist strap and work on an antistatic mat.
Before removal, photograph the existing board.
Capture:
- Board position
- Connector locations
- Cable labels
- DIP switches or jumpers, if fitted
- Existing firmware information
- Drive cabinet layout
Back up the drive configuration where the engineering software permits it.
Stage 2: Remove the Existing Module — About 5 minutes
- Confirm that power isolation has been verified.
- Mark every cable before disconnecting it.
- Photograph the connector area at close range.
- Release the board or module fixing mechanism according to the host-drive construction.
- Disconnect connectors without pulling directly on the cable.
- Remove the old board vertically where the mechanical design requires it.
- Inspect the connector pins and mating sockets.
Do not force a connector. A bent pin can turn a simple board replacement into a cabinet repair.
Stage 3: Install the Replacement — About 5-10 minutes
- Check the part number again: UFC760BE01 / 3BHB007030R0001.
- Compare the replacement board with the removed board.
- Copy any documented DIP-switch or jumper settings.
- Check connector orientation.
- Seat the board fully in its intended position.
- Reconnect cables one by one using the photographs and labels.
- Check that no connector remains partially inserted.
- Verify that the board is mechanically secure.
A small detail matters here: do not rely on connector appearance alone. Similar ABB boards can have different functions or configuration requirements.
Stage 4: Power-On & Testing — About 10-15 minutes
Before energizing:
- Confirm all connectors are seated.
- Check for loose hardware.
- Verify the correct power isolation has been restored according to the drive procedure.
- Check the drive cabinet for tools or foreign objects.
- Confirm the replacement board is installed in the correct position.
After power-up:
- Observe the board and drive diagnostic indicators.
- Check the drive control software for hardware or communication alarms.
- Read the installed firmware information if the engineering software provides it.
- Compare configuration data with the saved backup.
- Clear only alarms that have been identified and understood.
- Run the drive through a controlled functional test.
- Check start/stop commands, reference signals, feedback, and drive status.
- Monitor the system for at least 30 minutes under normal operating conditions.
⚠️ If communication fails, stop repeated restart attempts. Check firmware revision, connector seating, drive configuration, and board compatibility first.
Frequently Asked Questions (FAQ)
1. What is ABB UFC760BE01 3BHB007030R0001 used for?
It is an ABB UFC Series drive control module intended for control and signal-processing functions within compatible ABB drive equipment. The exact role depends on the host drive model and hardware configuration.
2. Can I directly replace my old UFC760BE01 with this module?
Usually, a same-part-number replacement is the safest route, but “same model” does not automatically mean “install and forget.”
Check these three items:
- Part number
- Hardware revision
- Firmware/configuration requirements
If any of them differ, verify compatibility before energizing the system.
3. My drive shows a communication fault after replacement. What should I check?
Start with the basics.
| Check | What to verify |
|---|---|
| Board seating | Module and connectors fully inserted |
| Firmware | Replacement revision matches system requirements |
| Configuration | Original settings copied correctly |
| Wiring | Every cable returned to its original position |
| Host drive | Correct hardware configuration loaded |
I have seen replacement jobs delayed simply because the old configuration was not photographed before removal. Five minutes of documentation can save hours of troubleshooting.
4. Is this module suitable for long-term spare inventory?
Yes, if the installed drive is production-critical and the replacement lead time is uncertain. For a critical drive, keeping 1 unit as buffer stock is often more economical than waiting for an emergency shipment during a production stop.
For slower-moving equipment, compare the holding cost with the supplier’s lead time. A vendor-managed or consignment arrangement can make more sense when several plants use the same spare.
5. How should I protect the board during replacement?
Use ESD controls.
Wear an ESD wrist strap. Use an antistatic mat. Keep the board inside its ESD bag until installation.
Dry winter conditions deserve extra attention. Static discharge may not leave a visible mark, yet it can damage sensitive electronic components.
6. What condition is the available part?
The recommended sales description for a verified unused unit is New Original (New Surplus), non-refurbished. Serial-number traceability, packaging condition, nameplate information, and available test records should be checked before shipment.
Test photos or a Test Report can also be requested where available.
7. What should I confirm before placing an order?
Send the supplier:
- Existing board part number
- Host drive model
- Hardware revision
- Firmware revision, if available
- Nameplate photograph
- Required quantity
- Required delivery date
That information reduces the chance of receiving a board that looks similar but does not match the installed system.



 Start Chat